
Self closing wrappers are made from two strips of heavy paper or Library Board (.020). Grain direction runs parallel with the folds.
1. Use a strip of paper to measure and mark the books height (H), width (W),
and thickness (th).


For the Snow portfolio, I found the height (H) to be 33cm, the width (W) to be 27cm, and the thickness (th) to be 0.7cm.
2. Measure and cut a horizontal piece of .020 Library Board (or heavy weight paper) to the height (H) of the book by two times its width, plus three times its thickness (th), plus an extra 5cm.
[H x (2W + 3th +5cm)]
 |
| Grain short! For the Snow portfolio I found this measurement to be 33cm x 61.1cm. |
3. Mark, Score, Fold.
 |
| I use the portfolio prints to physically check my measurements and make decisions about where to score. |
 |
| I set dividers to the thickness of 0.7cm. |
 |
| I use a ruler and the dividers to score the thickness. |
4. Angle-cut (or round) flap.
 |
| If you don't have a corner rounder, use scissors! |

 |
| Place prints inside and check to see if everything fits properly before going on. |
6. Cut vertical strip to the width of the portfolio by two-and-a-half times its height, plus two thicknesses. [W x (3H + 2th)]. For the Snow portfolio I found this measurement to be 27cm x 83.9cm.
 | |
| Triangle can ensure that the lines you score are straight! |
7. Mark, score, fold vertical strip using prints in the horizontal wrapper to physically check measurements and make decisions about where to score.
 |
| I re-set my dividers to include the thickness of the paper. (0.75cm) |


8. Angle (or round) corners.

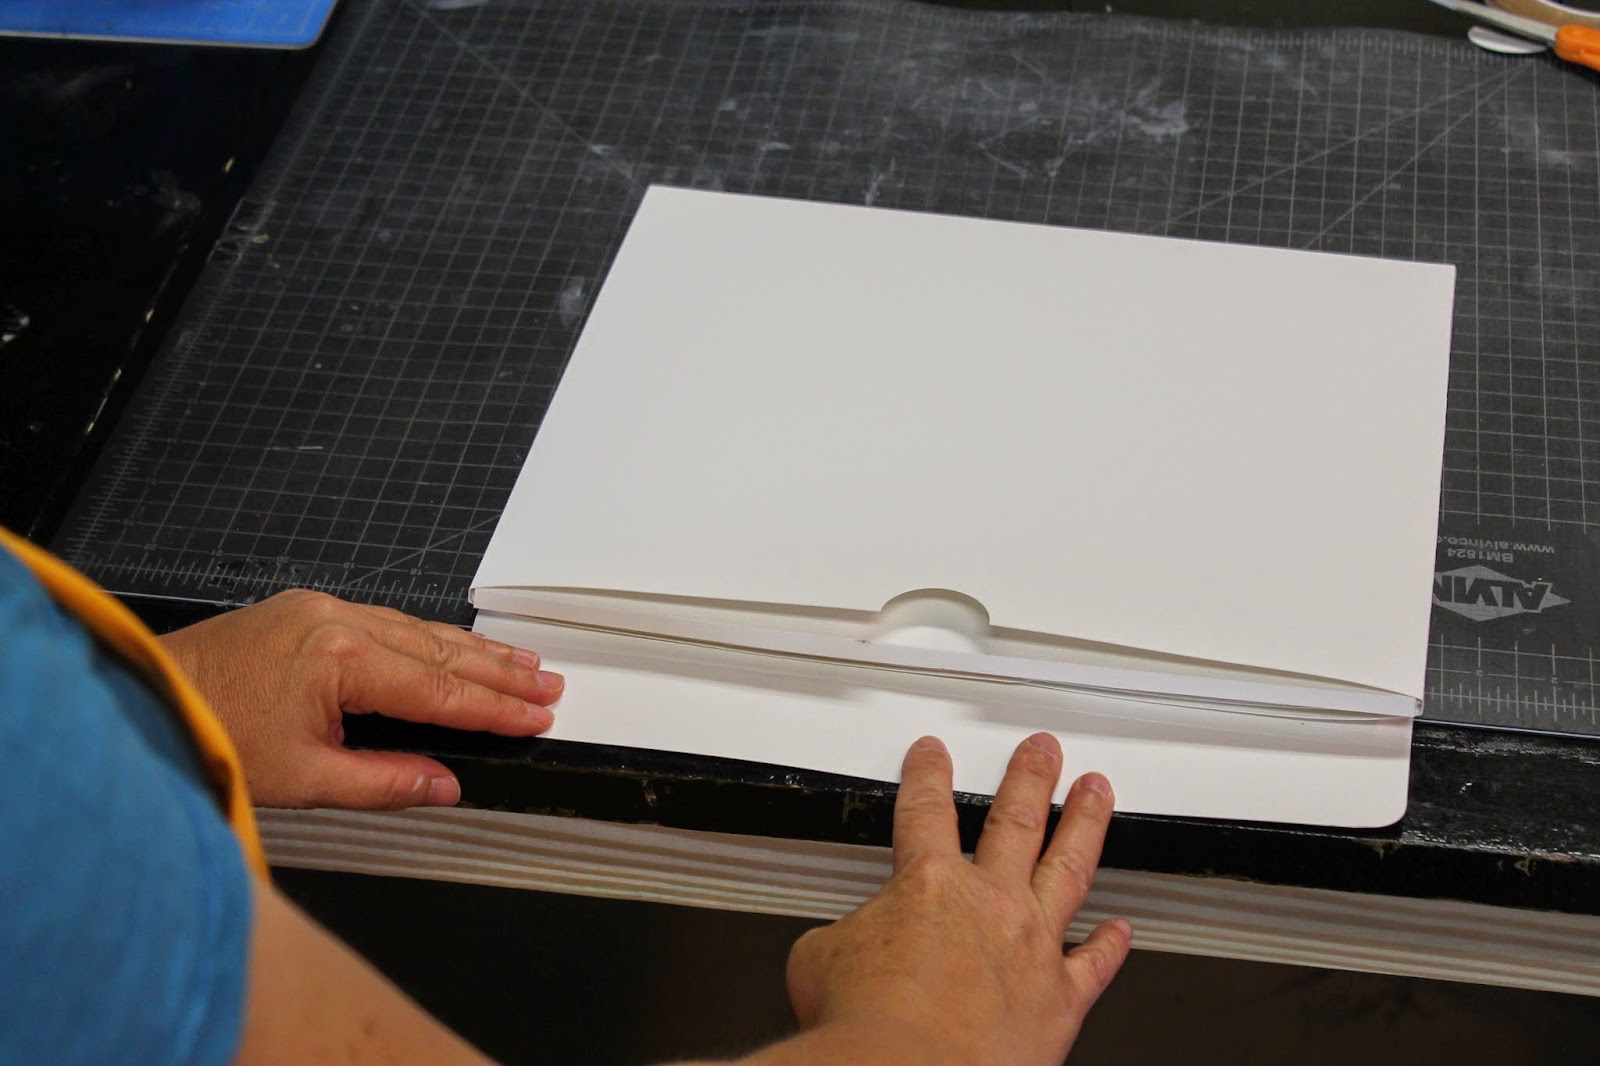
9. With a gouge and mallet (or hole punch), punch a thumb notch center on one edge of vertical strip.

10. Put a line of double-stick tape opposite from the thumb notch.

11. Attach the horizontal piece to the vertical piece. I carefully line things up and double check that everything fits before I remove the double-stick tape.


12. Place prints in wrapper.

 |
| Fold. |
 |
| And wrap. |
 |
| Finished! |